
Plinth beam plastering is an important finishing activity carried out in the lower portion of a building, especially around the area between the ground level and the finished floor level. A properly plastered plinth beam gives the building a neat appearance while also helping protect exposed masonry and concrete surfaces from moisture, dust, weathering and minor surface deterioration.
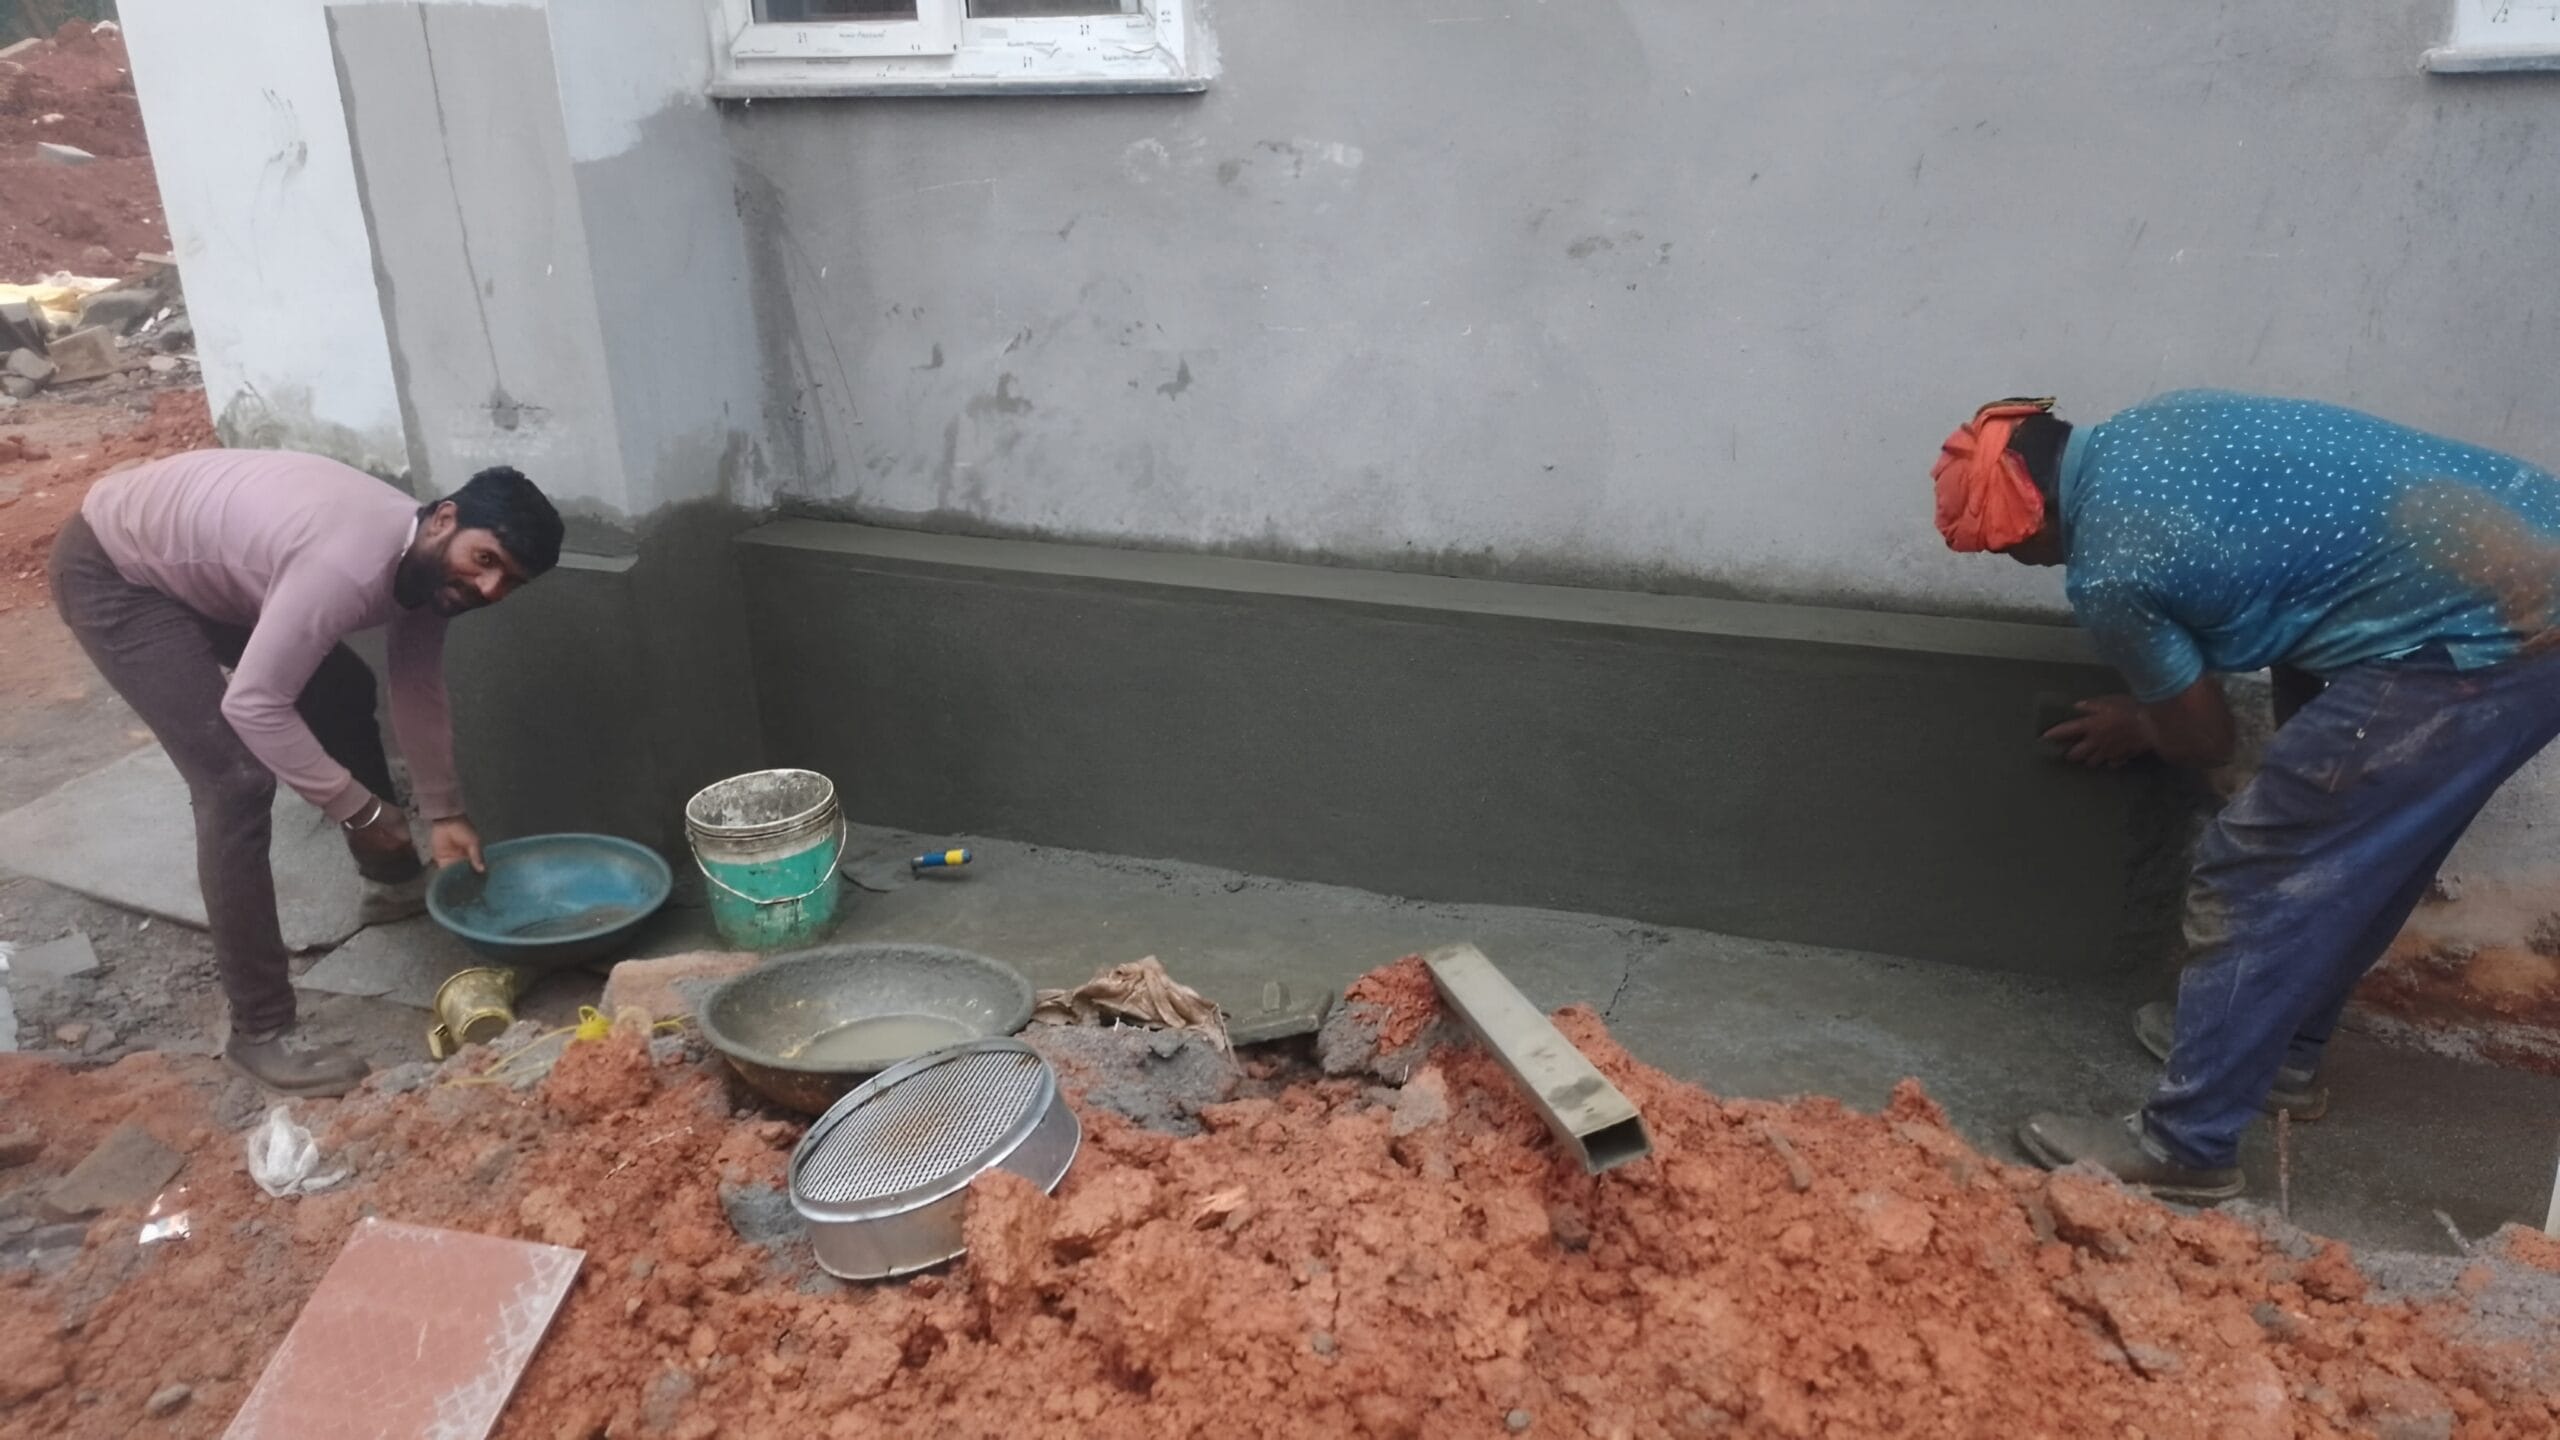
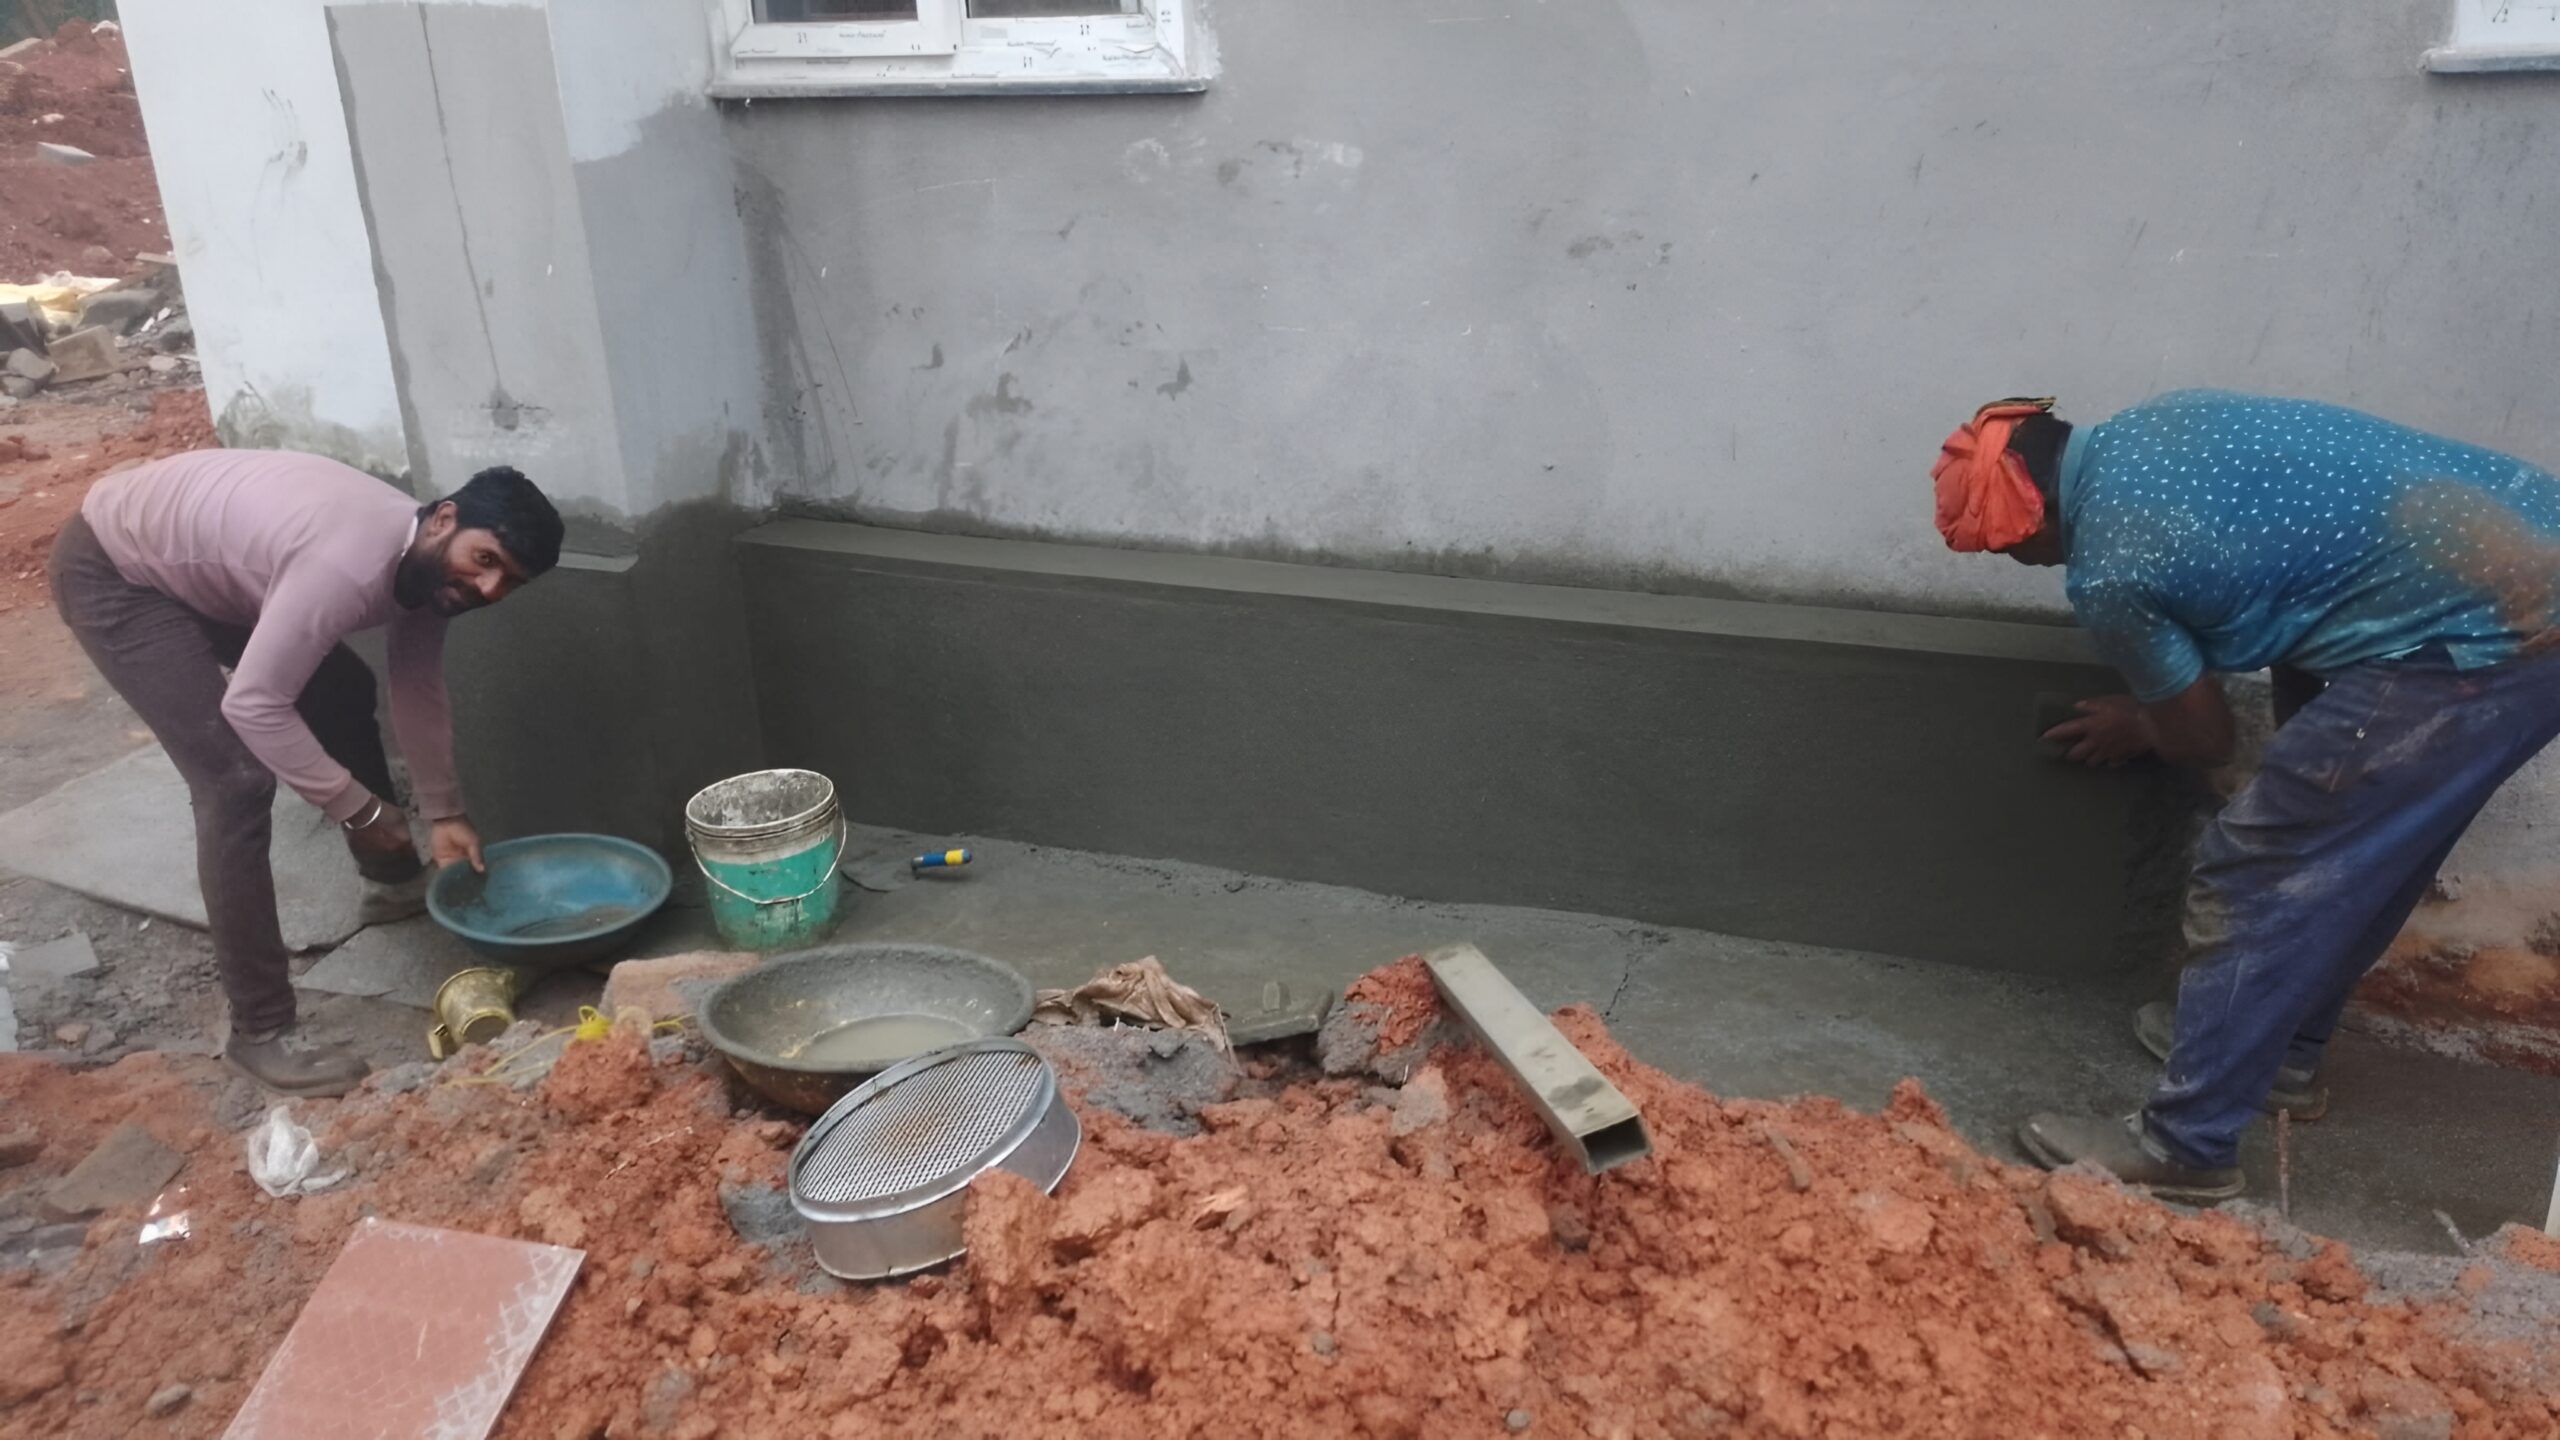
The image shows workers carrying out plastering work around the plinth-level portion of a building. The surface has been prepared with cement mortar, and the workers are applying and leveling the plaster carefully along the wall. This type of work requires proper surface preparation, correct mortar proportion, adequate thickness, good workmanship and proper curing.
In this article, we will understand the complete plinth beam plastering process, materials required, recommended practices, common mistakes, curing methods and quality checks that should be followed at a construction site.
What Is Plinth Beam Plastering?
A plinth beam is generally an RCC structural member provided at plinth level to connect columns and improve the overall stability of the building. However, the visible lower portion of a building may also include a plinth wall or masonry portion surrounding the building.
When this exposed surface needs a cement plaster finish, the work is commonly referred to as plinth plastering or plinth beam plastering at site.
The purpose is not only to improve the appearance. In addition, plastering creates a more uniform surface and provides a protective finishing layer over suitable masonry or concrete surfaces.
It is important to understand that plaster is a finishing/protective layer and not a replacement for structural concrete or waterproofing. Therefore, any cracks, honeycombing, leakage or structural defects should be addressed before plastering.
Why Is Plinth Plastering Important?
The plinth area is close to the ground and is therefore more exposed to moisture, mud, splash water and dust than many other portions of the building.
For this reason, proper finishing at this level is particularly useful.
Some major benefits include:
- Provides a smooth and uniform appearance.
- Protects suitable masonry surfaces from direct environmental exposure.
- Reduces surface dusting and deterioration.
- Creates a better base for exterior paint or protective coatings.
- Helps provide a clean transition between the ground and building wall.
- Makes future maintenance easier.
- Improves the overall appearance of the building.
- Helps close small surface irregularities in masonry.
However, plaster alone should not be considered a complete solution for rising dampness or serious water leakage.
Materials Required for Plinth Plastering
Before beginning the work, all required materials should be arranged near the working area. This avoids unnecessary interruptions during plastering.
The commonly used materials include:
| Material | Main Purpose |
|---|---|
| Cement | Main binding material in cement mortar |
| Fine aggregate/sand | Provides bulk and workable plaster mix |
| Clean water | Mixing mortar and curing |
| Cement slurry, where specified | Improving bonding at suitable interfaces |
| Bonding agent, where specified | Helps adhesion on difficult surfaces |
| Corner beads, where required | Protects and finishes external corners |
| Curing water | Maintains moisture during curing |
| Tools | Mixing, applying and leveling plaster |
The sand should be suitable for plastering and reasonably free from clay, organic matter and other unwanted materials. Water used for mixing should also be clean.
The exact cement-to-sand ratio should follow the project specification and the engineer’s requirements rather than using one ratio for every situation.
Tools Used for Plinth Plastering
The workers generally require several basic tools to complete the activity properly.
Common tools include:
- Mason’s trowel
- Steel trowel
- Wooden or aluminum float
- Straight edge
- Spirit level
- Plumb bob
- Measuring tape
- Mortar pan
- Mixing tray
- Buckets
- Water containers
- Wire brush
- Scraper
- Leveling tools
- Protective gloves
The image shows workers using basic plastering equipment while working close to the plinth area. Keeping the tools clean and in good condition helps improve the quality of the finished surface.
Surface Preparation Before Plastering
Surface preparation is one of the most important stages of plastering.
Even a good mortar mix can produce a poor finish if the background is not prepared correctly.
First, the surface should be inspected carefully. Loose mortar, dust, mud, oil, laitance and other unwanted materials should be removed.
If the surface is very smooth, particularly in certain concrete areas, suitable preparation may be necessary to improve mechanical bonding. Depending on the project specification, a bonding treatment or appropriate roughening method may be used.
Next, the surface should be cleaned properly.
Any major cracks, holes or defective portions should be repaired before the plastering starts.
The surrounding area should also be cleaned because loose soil and construction debris can contaminate freshly prepared mortar.
Checking Levels and Thickness
Before applying plaster, the workers should establish the required line, level and thickness.
This is usually done using reference points, level markings and plastering guides.
Proper checking helps ensure that the finished surface is straight and uniform.
If plaster thickness becomes unnecessarily high in certain locations, shrinkage and cracking risks can increase. Therefore, large variations should be corrected through proper background preparation rather than simply applying excessive mortar.
The final thickness should follow the project specification.
Preparing Cement Mortar
The cement mortar should be prepared according to the specified mix proportion.
The required quantity of sand and cement should be measured consistently. Randomly adding cement or sand can result in variations in strength, workability and finish.
The dry materials are mixed thoroughly before clean water is added gradually.
Water should not be added excessively. Over-wet mortar may become difficult to control and can contribute to shrinkage and poor surface quality.
Likewise, mortar that is too dry will not spread properly and may not achieve adequate contact with the background.
The mortar should be used within the appropriate working period specified for the project. Old or partially set mortar should not simply be re-tempered with water and reused.
Applying Plaster to the Plinth Area
Once the surface and mortar are ready, plastering can begin.
The mortar is applied to the prepared surface using a trowel. The worker spreads the mortar evenly while maintaining the required thickness.
The plaster should make proper contact with the background.
After application, the surface is leveled using a straight edge or suitable leveling tool.
The worker then uses a float or trowel to achieve the required finish.
As shown in the image, two workers are working along the lower wall area. One worker can focus on handling and applying the mortar while another assists with leveling, preparation or finishing. Good coordination between workers can make the process faster while maintaining quality.
Maintaining Straightness and Uniformity
The finished plinth surface should look straight and consistent.
A straight edge can be moved across the plastered surface to identify high and low areas.
Low portions can be filled carefully, while excessive material in high portions can be removed before final finishing.
Verticality and horizontal alignment should also be checked where applicable.
This is particularly important when the plinth is going to receive paint, tiles, stone or another decorative finish later.
Finishing the Plaster
The final finish depends on the project requirements.
A smooth finish may be achieved using a steel trowel or suitable finishing tool. A slightly textured finish may be selected for certain external applications.
However, excessive rubbing or overworking of the surface should be avoided.
The finishing operation should produce an even appearance without prominent trowel marks, loose particles, hollows or visible joints.
At corners and junctions, special attention should be given because these locations can easily become uneven.
Plinth Plastering at Corners
Corners are vulnerable areas and therefore need proper finishing.
The corner should be maintained straight and aligned with the required geometry of the building.
Where specified, corner beads or other suitable accessories can be used.
The transition between the plinth surface and adjacent wall should also be neat.
Furthermore, the bottom portion near the ground should be finished carefully so that loose mortar does not remain around the edge.
Important Point About Waterproofing
One common misunderstanding at construction sites is that plastering itself will completely stop water penetration.
That is not always true.
If the building has rising dampness, leakage from plumbing, poor drainage or water entering through a construction joint, simply applying cement plaster may not solve the underlying problem.
Therefore, waterproofing requirements should be considered separately.
Before plastering, the source of moisture should be identified whenever dampness is present.
Depending on the building design, waterproofing may involve:
- Damp-proof courses
- Waterproofing treatments
- Proper drainage
- Sealants at suitable joints
- Protective coatings
- Proper ground slope
- Correct rainwater disposal
Thus, plastering and waterproofing should be treated as related but different construction activities.
Curing of Plinth Plaster
Curing is an essential part of cement plastering.
After the plaster has sufficiently set, curing should be started according to the project requirements.
Water is applied carefully so that the plaster remains adequately moist during the specified curing period.
The objective is to provide sufficient moisture for cement hydration.
If plaster dries too quickly, particularly under hot or windy conditions, the chances of shrinkage cracks and poor surface development can increase.
Therefore, curing should not be ignored after completing the plastering work.
The actual curing duration should follow the project specification, applicable standards and site engineer’s instructions.
Quality Checks After Plastering
A site engineer or supervisor should inspect the finished work before accepting the plastering activity.
Important checks include:
| Quality Check | What to Observe |
|---|---|
| Surface alignment | Surface should follow the required line |
| Level | Required horizontal/vertical levels should be maintained |
| Thickness | Should be within specified limits |
| Bonding | No loose or hollow plaster |
| Finish | Uniform and free from major irregularities |
| Corners | Straight and properly finished |
| Cracks | No avoidable shrinkage or major cracks |
| Curing | Proper curing should be carried out |
| Cleanliness | Adjacent surfaces should remain free from mortar |
| Moisture | Leakage or dampness should be investigated |
A simple tapping inspection may help identify hollow-sounding areas, although the inspection method should follow the project’s quality-control procedure.
Common Problems in Plinth Plastering
Several problems can occur if the work is not performed correctly.
1. Cracks in Plaster
Cracking can occur for different reasons, including excessive thickness, rapid drying, poor curing, movement, unsuitable materials or inadequate surface preparation.
Therefore, the exact cause should be identified instead of simply covering the crack with another plaster layer.
2. Hollow Plaster
Hollow-sounding or debonded plaster may develop when the background is dusty, excessively smooth, poorly prepared or when application practices are inadequate.
Proper surface preparation is therefore very important.
3. Uneven Surface
Uneven plaster generally results from poor leveling, inconsistent thickness or insufficient workmanship.
Using reference points and a straight edge can help maintain uniformity.
4. Powdery Surface
A weak or powdery surface may be associated with poor mortar proportion, excessive water, unsuitable materials or inadequate curing.
5. Dampness
Persistent dampness should not be ignored.
The source may be ground moisture, plumbing leakage, rainwater, drainage problems or waterproofing defects.
Safety Precautions During Plinth Plastering
Although plastering is a routine activity, workers should follow basic safety practices.
Workers should use appropriate footwear and hand protection. The working area should be kept free from unnecessary debris and sharp objects.
Cement can irritate the skin and eyes. Therefore, suitable protective equipment should be used when handling cement and mortar.
Furthermore, buckets, tools and materials should be placed safely so that workers do not trip while moving around the plinth area.
Good housekeeping is particularly important because plinth work is often performed close to excavated soil, construction debris and uneven ground.
Advantages of Proper Plinth Plastering
When executed correctly, plinth plastering provides several practical benefits.
First, it creates a clean and finished appearance around the lower portion of the building.
Second, it provides a protective surface over suitable backgrounds.
Third, it prepares the area for subsequent painting or other finishing treatments.
Moreover, proper workmanship can reduce maintenance problems caused by loose surface material and poor finishing.
However, the quality of the final result depends on the entire process, from surface preparation to curing.
Plinth Plastering vs Normal Wall Plastering
Although the basic plastering technique is similar, the plinth area requires additional attention because it is located close to the ground.
| Aspect | Plinth Plastering | Normal Wall Plastering |
|---|---|---|
| Location | Near ground/plinth level | Above plinth level |
| Exposure | Higher exposure to splash water and soil | Generally lower |
| Moisture concern | Usually more important | Depends on location |
| Surface preparation | Very important | Very important |
| Waterproofing | May require additional consideration | Depends on wall location |
| Finishing | Usually exterior/protective | Interior or exterior |
| Maintenance | More exposure to dirt and moisture | Varies by location |
Therefore, the plinth area should not be treated as just another wall without considering its environmental exposure.
Site Engineer’s Checklist for Plinth Plastering
Before starting the activity, the site engineer can verify the following:
- Background is properly cleaned.
- Loose material has been removed.
- Major defects are repaired.
- Required levels are marked.
- Required plaster thickness is established.
- Materials are approved and suitable.
- Sand is clean and appropriate for plastering.
- Mortar proportion follows the specification.
- Workers understand the required finish.
- Corners and junctions are properly aligned.
- Watering and curing arrangements are available.
- Finished surfaces are protected from damage.
- Construction debris is removed after completion.
This checklist helps reduce avoidable rework.
How to Get a Better Plinth Plaster Finish
Good plastering is not only about applying cement mortar to a wall. It requires attention at every stage.
First, prepare the background properly.
Next, maintain a consistent mortar proportion.
Then, establish reference points before applying the plaster.
After that, apply the mortar evenly and level it using suitable tools.
Finally, provide proper finishing and curing.
Most importantly, do not try to hide major structural or waterproofing defects beneath plaster. Such problems should be corrected before finishing.
Conclusion
Plinth beam and plinth-area plastering is an important construction finishing activity that improves the appearance and provides a protective finish to suitable surfaces around the lower portion of a building. The image demonstrates a typical site situation where workers are applying and leveling plaster around the plinth-level area.
A good result depends on several factors, including surface preparation, correct mortar proportion, proper thickness, accurate leveling, skilled application, neat finishing and adequate curing.
In addition, the plinth area deserves special attention because it is close to the ground and can be exposed to moisture, soil and rainwater splash. Therefore, drainage and waterproofing should also be considered whenever required.
Ultimately, proper workmanship at the plinth level can make the building look cleaner and can reduce unnecessary maintenance problems. By following a systematic construction procedure and carrying out regular quality checks, site engineers and construction teams can achieve a durable and visually consistent plastered finish.
also click here
Share this content: